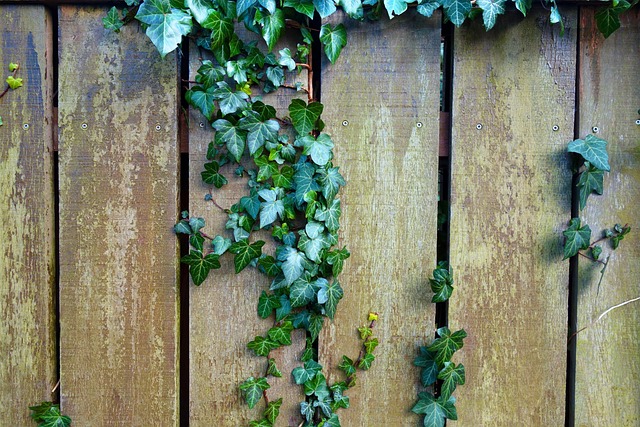
Introduction:
Elevate the aesthetic appeal and durability of your wooden fence with professional staining and sealing. This comprehensive guide delves into the intricacies of fence staining, offering a meticulous approach to enhancing both the visual allure and protective layer of your outdoor structure. From understanding the benefits and exploring various stain types to preparing your fence and maintaining optimal results, we provide step-by-step insights for achieving long-lasting protection and eye-catching colors.
- Understanding Fence Staining: Benefits and Types
- Preparing Your Wooden Fence for Staining
- Choosing the Right Stain: Color and Protection
- The Sealing Process: Protecting Longevity
- Maintenance Tips for Lasting Results
Understanding Fence Staining: Benefits and Types
Fence staining is an effective way to protect your wooden fence from the elements, enhance its aesthetics, and increase its lifespan. By applying a coat of stain, you create a barrier that blocks out moisture, UV rays, and other environmental factors that can cause wood to rot or fade. This process not only preserves the fence but also adds a new dimension of color and style to your outdoor space.
There are various types of fence stains available in the market, each offering unique benefits. Some stains provide better protection against water damage, while others focus on enhancing the natural grain of the wood. Oil-based stains, for instance, penetrate deep into the wood, protecting it from within and highlighting its texture. On the other hand, water-based stains are easier to apply, dry quickly, and emit fewer odors. Choosing the right type depends on your specific needs, climate, and personal preference.
Preparing Your Wooden Fence for Staining
Before applying any stain or sealer, it’s crucial to prepare your wooden fence thoroughly. Start by cleaning the fence to remove any dirt, dust, or debris that might hinder the staining process. Use a pressure washer or a stiff brush and mild detergent for this step. Make sure to get rid of any peeling or damaged wood as well, as these areas won’t absorb the stain properly.
Once the fence is clean, sand it gently to create a rough texture that will allow the stain to cling better. This process also helps to open up the pores of the wood, ensuring even absorption. Remove any sawdust generated during sanding using a damp cloth or vacuum cleaner to prevent it from drying and becoming ingrained in the fresh finish.
Choosing the Right Stain: Color and Protection
Choosing the right stain is crucial for enhancing the aesthetic appeal and protecting your wooden fence. Start by considering the color options available, ranging from natural wood tones to vibrant shades. The color should complement your home’s exterior and the surrounding landscape. Dark colors offer better protection against UV rays, weather conditions, and fading, while lighter shades might be more suitable for areas with less direct sunlight.
Look for stains designed specifically for outdoor use and wooden fences, as these formulations provide long-lasting protection against water, mold, and mildew. Check the label for factors like sun resistance, fade resistance, and water-repellency to ensure the stain meets your needs. Testing a small area first is recommended to see how the color appears over time and under different lighting conditions.
The Sealing Process: Protecting Longevity
The sealing process plays a crucial role in extending the lifespan of your wooden fence. After staining, applying a protective sealant is essential to safeguard the wood from various environmental elements. This step involves coating the fence with a special substance designed to create a barrier against moisture, UV rays, and extreme temperatures.
By sealing, you prevent the wood from drying out, cracking, or fading prematurely. It also fills in any pores and gaps, further protecting against rot, mold, and insect infestation. A high-quality sealant forms a glossy or matte finish, enhancing the visual appeal of your fence while providing lasting durability.
Maintenance Tips for Lasting Results
Regular maintenance is key to ensuring your fence staining and sealing job lasts for years to come. After initial application, it’s recommended to reapply a fresh coat every 2-3 years, or as needed based on exposure to elements like sun and rain. Before each application, clean the fence thoroughly to remove any dirt, mold, or mildew using a pressure washer or stiff brush. This ensures better adhesion of the stain.
Inspect your fence periodically for signs of wear, chipping, or fading, and address any issues promptly. Repair any damaged areas, re-seal as necessary, and re-stain to maintain the desired color and protection. Using high-quality products and proper application techniques will also contribute to longer-lasting results, keeping your wooden fence looking its best for years.